How to Shoot The Best Web Photography and Video for Websites
One challenge we're often faced with is working with photography and video assets that do not fit the layout of a landing page template or website. And while we find ways to make these images work, we regularly find our clients coming to us for advice on how to best direct photographers and videographers for digital success. After much experience collaborating with photographers and brands, we're excited to share our list of favorite tips and tricks when shooting for the web.
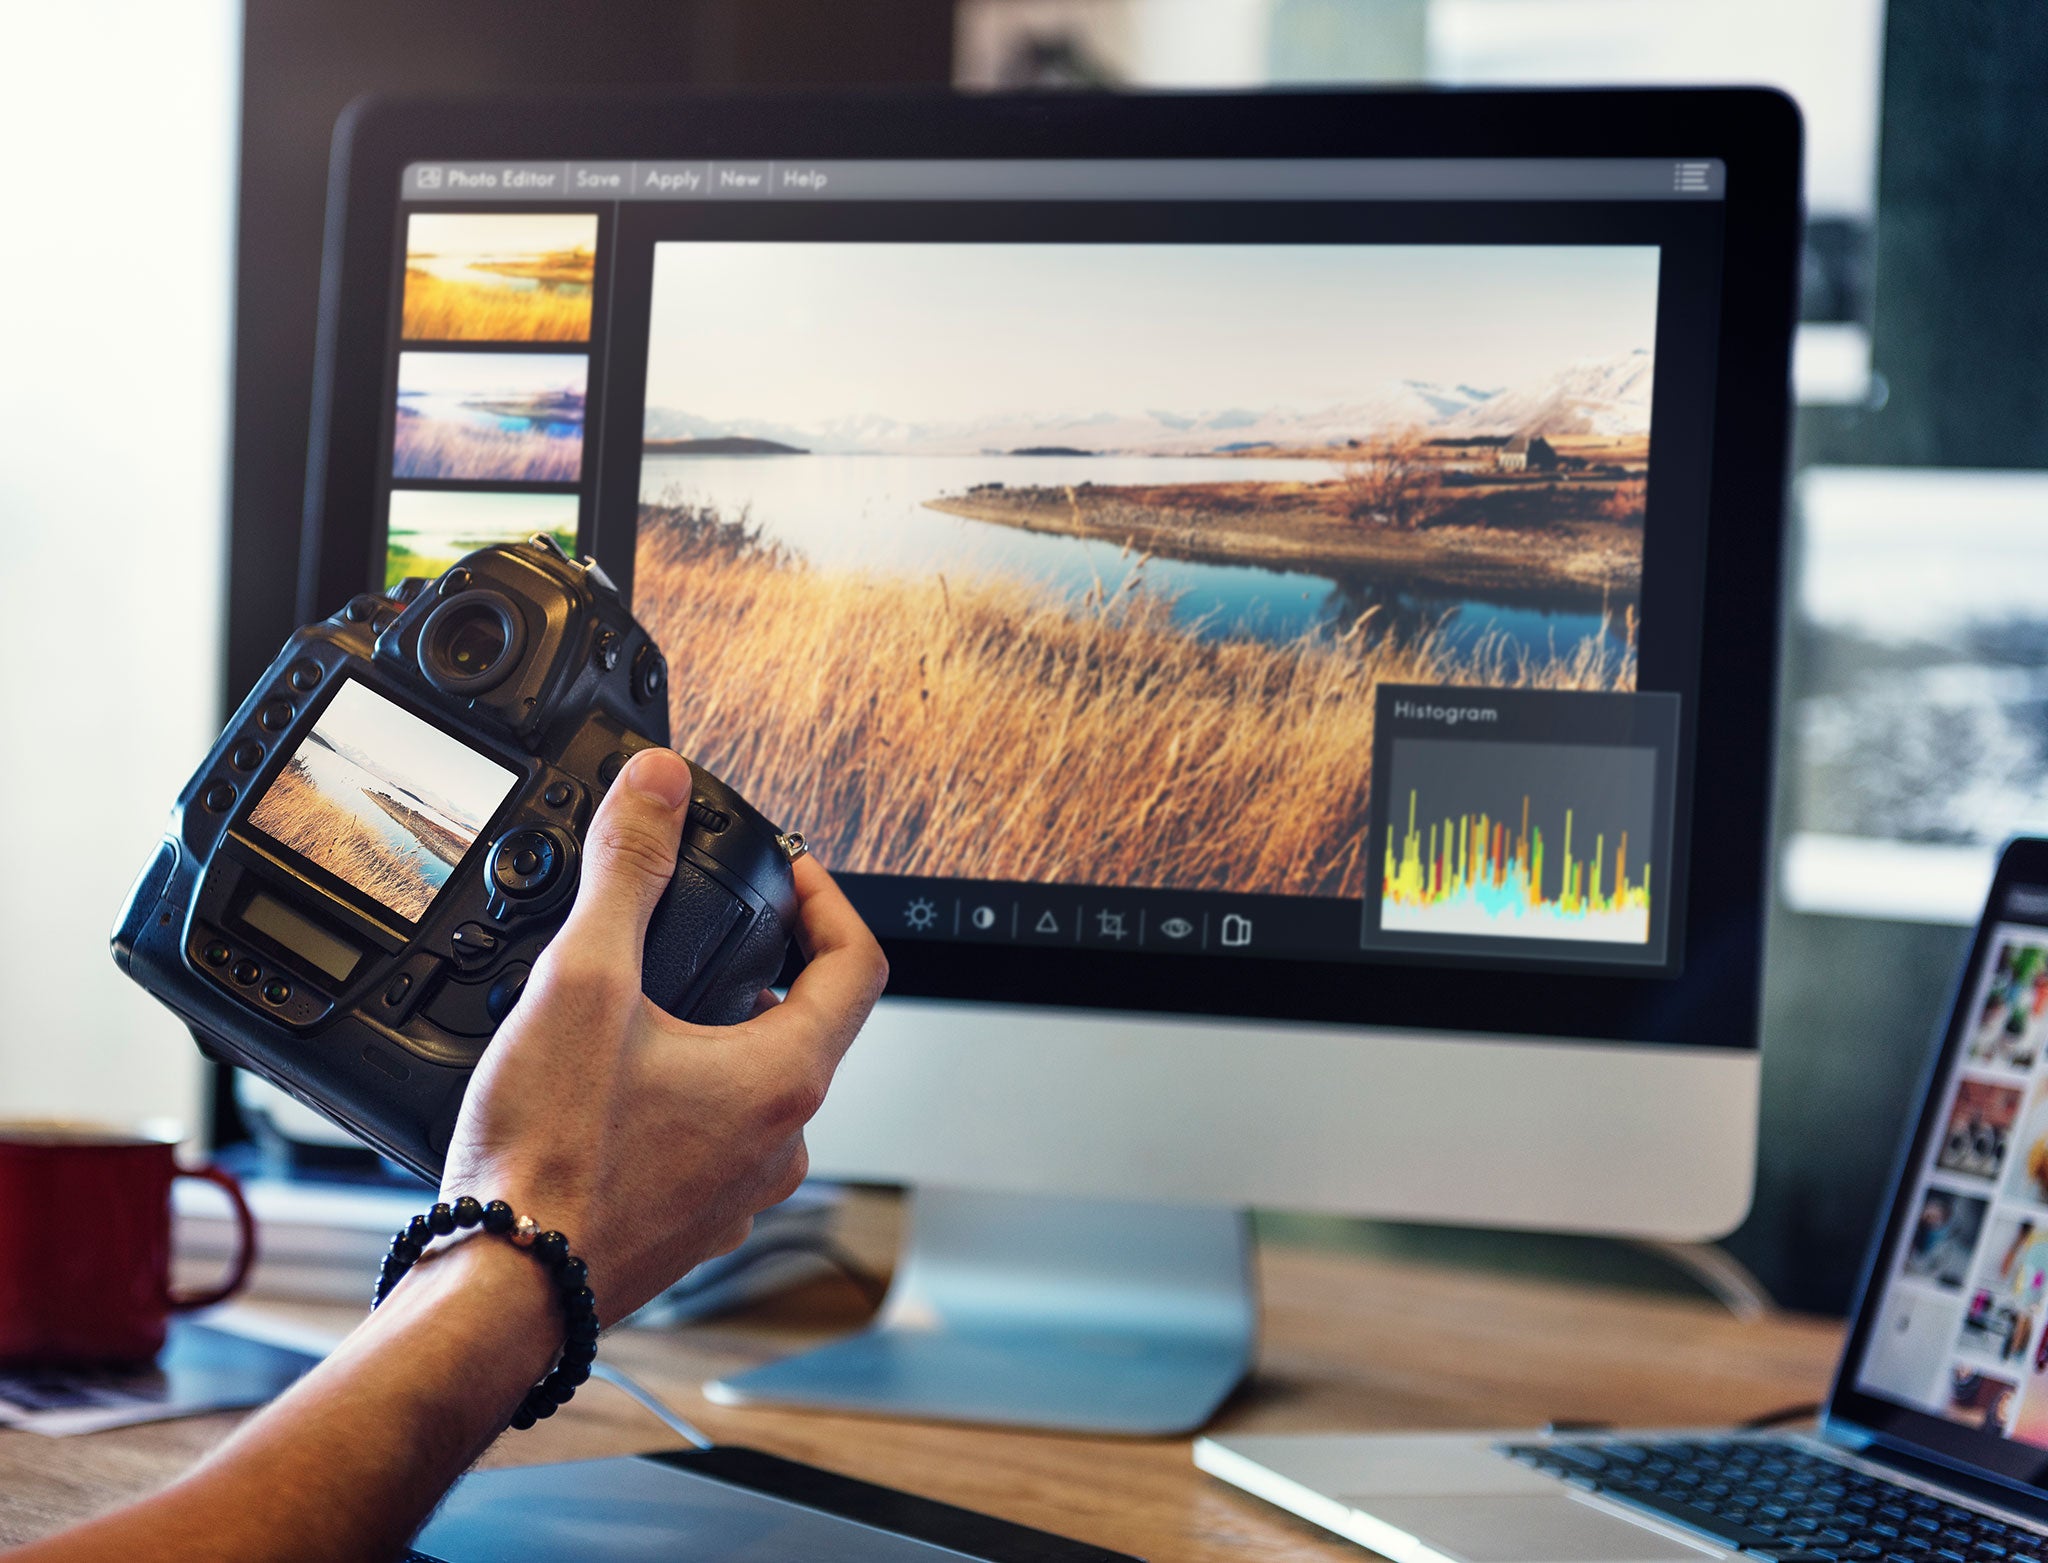
When you're a designer, you've received every type of creative asset you could imagine. You've clipped paths on so many product photos that you're about to change the title on your biz card to "Landscaper". Your creative director calls you "Dr Pixel-Perfect" because of your shaman-like mastery of Photoshop's "healing" brush. Your client sent you images so low-res that 1997 paged your beeper to ask for them back. Fever-dreams wake you up in the middle of the night because you think the FBI is knocking down your door to haul you off for the stolen photography your client demanded you use on the website. And then there's just the general boring, improperly formatted, cheap, horrible, no-good, very bad photography.
And on the rare occasion, if you've stockpiled karma and mercury's not in retrograde, you find yourself working with perfectly professional, properly formarted, gorgeous, hi-res photography. Feeling inspired, you hunt down the photographer, cook them a wholesome organically-sourced dinner accompanied by the most antioxidant-rich red wine and mouth kiss them until dawn breaks the next morning.
For example, consider these two gorgeous photos taken by one of our favorite photographers, Katie Gardner, of Katie Gardner Photography:
Both photos are beautifully lit and composed, have ample white space to add in copy and backgrounds that can easily be extended horizontally into landscape aspect ratios to fit most responsive web design applications.
Read on to learn more specifics about how to guide a photography shoot to create the most versatile and useable creative assets. We have also made this How-To Guide available for download.
1. Consider: Aspect Ratios
For images, the aspect ratio is essential. This is the proportional relationship between the height and width of an image. These ratios between height and width are fixed and the only way we can change them is if we crop the image. In short, the challenge we often face with traditional photo aspect ratios is - they aren’t always perfect for web design.
Landing page hero shots often require breathing room around the central focal point and will frequently be wider and shorter than the traditional widescreen 16:9 aspect ratio. This is why we recommend shooting options with a 21:9 aspect ratio in addition to 16:9.
2. Consider: White Space / Copy Space
When setting the stage to capture that perfect shot, it can be easy to forget where your copy is going to fit. You want it to be legible and readable to your customer while not taking away from the focus of your beautifully crafted image. When the copy is difficult to decipher, your customer is forced to either strain their eyes or skip over the content.
Your photos and video shots should include space for advertising headlines, short descriptions and your call to actions. Your images will work best if you decide ahead of time what you want to communicate in the space you are creating.
3. Consider: Suggestive Directional Cues
When composing a hero shot, keep eye scan patterns in mind, and particularly the Z-pattern vs. the F-pattern.
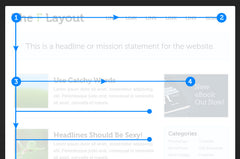 F-Pattern sites are for generally text-heavy pages. It makes it easy for the visitor to scan down the page until the reader finds something she likes, then scan across. The end result is something that looks like the letter F or E, hence the name.
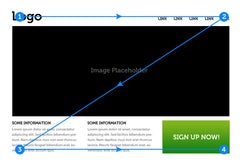 However, visitors reading landing pages centered on photography or video follow a modified Z pattern. The Z-Pattern addresses the core website requirements such as hierarchy, branding, and calls to action. Suggestive directional cues will help convince your visitor to complete the action you want them to complete. For example, if a “Buy Now” or “Learn More” button is in the bottom right of the composition, suggestive direction cues can help push your visitor’s attention to this call to action.
So while you’re staging your perfect shot, make sure you're considering suggestive directional cues, such as the direction of your model’s glance, the motion of the shot, or a single focal point. Do they flow with the pattern of the ‘Z’? Yes? Then perfect!
Now it's your turn. Take a look at these two amazing photos, both by Ian Boyle, the Creative Director and Photographer behind Riding the Lane. Which would work best overall when designing a landing page?
-
Aspect Ratios:
Photo 1 would probably work best in an Instagram setting, it’s ratios are tight and there’s not a lot of room around the focal point vs. Photo 2, which has plenty of breathing room and is plenty wide, allowing us to crop and play with the image if needed.
-
White Space / Copy Space:
Photo 1 may have some space allotted, but not much. However, the larger problem is with the background. It's too busy, making any copy placed over the top of it hard for your viewer to read. Photo 2 has clean, larges spaces on the top, bottom and even to the left of the image. The possibilities are endless while providing a clear, legible space.
-
Directional Cues:
In Photo 1, our model is front and center. Photo 2 best achieves the suggestive directional cues you'd likely prefer your viewer to follow. The eye will follow the F pattern due to it's landscape and horizontal composition, achieving a perfect place for a call to action or headline.
Even though both images are stunning, from a design perspective, it's clear to see Photo 2 is the best choice to start designing our hypothetical landing page.
And there you have it, our secrets for setting yourselves up for quality landing page photography and video! Download our guide to keep in your production folder or share with your creative team. Note, this guide is not intended to act as a constraint for content and editing decisions but instead allow for video/photography production teams to create assets that will assist your web development efforts.
With these key concepts in mind, get ready for your design team to love you every time you come to them with new content. The key is to always consider the full possibilities of the images you're shooting for. Or connect with us on your next project, be it content creation, design, development or anything creative and digital.
Leave a comment